How to File Taxes: A Freelance Photographer’s Guide

Trying to figure out how to file taxes as a freelance photographer? Check this high-level guide to help you through.


While working for yourself comes with countless perks, there’s one major downside: You’re responsible for withholding and paying your own taxes.

Preparing and filing freelance tax can be complicated for self-employed photographers. To help you navigate this process, we’ve compiled a tax guide for photographers to get you started.

How to file taxes as a freelance photographer

Start with small business recordkeeping

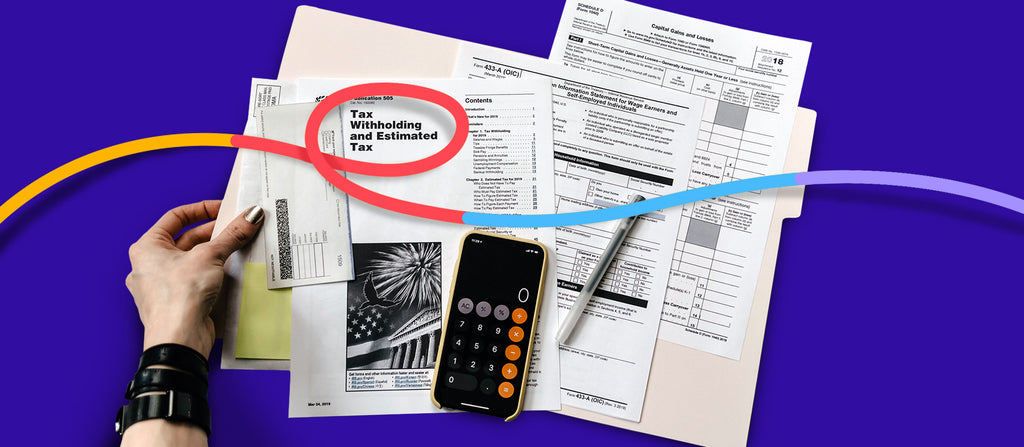
Before moving forward, set yourself up for success by keeping good records of everything — and we mean everything.

Some of the records and receipts you need to set aside include:

  • Receipts for business-related expenses (don’t worry, we’ll detail deductible expenses later)
  • Invoices
  • Payroll records for full-time or contract employees
  • Bank statements
  • Any W2 or 1099 forms from employers
  • Previous income tax returns

While you can hang onto all this paperwork in a shoebox for your accountant to sort out, we recommend getting organized. Set up a proper paper filing system or use an accounting tool like Wave or QuickBooks to digitize, store, and categorize paper receipts and track invoices.

How to Add a Shadow in Photoshop for Product Photos

Shadows in your ecommerce photos can help products jump off the page and into carts. And you only need Photoshop to do it—no fancy or expensive lighting equipment required.


What Is Photo Editing?: A Definition

Learning what photo editing is can help you understand how to use it to create product photos that convert.


The photoshoot is only one part of creating a great image. A skilled photo editor can take a good RAW image and use a myriad of techniques to create a stunning final photo. Post-processing can enhance what you did capture and create effects that aren’t always possible in the photography studio.

This is especially true when it comes to ecommerce product photography that can seem creatively limiting.

Curious about post-processing and how you can use it to improve your business? Get a refresher on the definition of photo editing and learn about what a photo editor is and how to incorporate photo editing into your business.

What is photo editing?: A definition

Photo editing is the act of image enhancement and manipulation. This process is usually done with a digital photo editing software. Photo editing can involve basic tweaks like when you crop and resize images or adjust saturation. It also includes advanced techniques like swapping faces or photo retouching to get rid of distracting elements or unwanted objects.

Some image editing techniques are done manually, while others are conducted through automated photo editing tools and software. Most edits to digital photography involve some one or a few photo editing programs. Some edits are even done offline on actual photographs, posters, or other printed collateral without any image editing software.

Other terms for photo editing include:

  • Image editing
  • Post-processing
  • Image/photo manipulation
  • Photoshopping
  • Image/photo enhancement

The importance of photo editing

Editing helps you fine tune and get the best image possible, as close to what you imagined when you took the photo (or better perhaps). Niche photographers can hone and emphasize their personal style. And for businesses, editing helps cement branding and optimize for business goals.

Photo editing is particularly important for ecommerce companies. Image quality directly affects people’s opinion of the product and sales numbers. Studies have confirmed that high-quality images outperform stock photos and poorer quality imagery—and increasing the number of high-quality images helps build trust with consumers and increases conversion rates.

What are the different types of photo editing?

There are many ways to edit a photo—some simple and others more complicated.

Many people can figure out simple photo editing techniques on their own—though this does require time and patience. More complex adjustments may require using dedicated programs with specific photo editing features or hiring a trained professional editor.

How to Photograph Reflective Products + Tips and Examples


Online buyers likely don’t notice the many shiny, reflective, or transparent products available across different ecommerce niches. There’s no reason to—they’re simply shopping online.

But if they come across a listing with a poorly edited product photo, it could make or break their purchase decision. They might be distracted by the glare of plastic product wrapping, spot a necklace with visible scratches, or a kitchenware set with photographer reflections on the metal surface. Those products will stick out like a sore thumb for all the wrong reasons.

Many products have challenging shiny, reflective, or transparent surfaces, so it helps to know how to shoot and edit them for a professional result. Look at some of our tips and tricks to help you create high-quality product photos that lead to sales—even on a DIY budget.

Examples of reflective products

Not sure which products can create unwanted reflections? There are actually more than you might think. Shiny, reflective, or transparent products might include:

  • Jewelry
  • Watches and other accessories
  • Glassware and kitchenware
  • Electronics
  • Cosmetics and skincare products
  • Sports equipment
  • Office stationery
  • DIY tools for gardening, painting, and other activities
  • Fabric or materials such as leather, transparent polymers, and others
  • Packaging and containers
  • Labels and stickers